Step 2
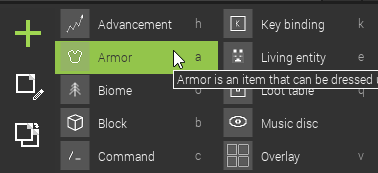
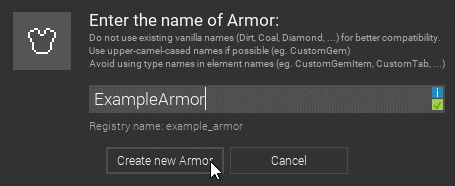
Next, add a new armor mod element and give it a unique name.


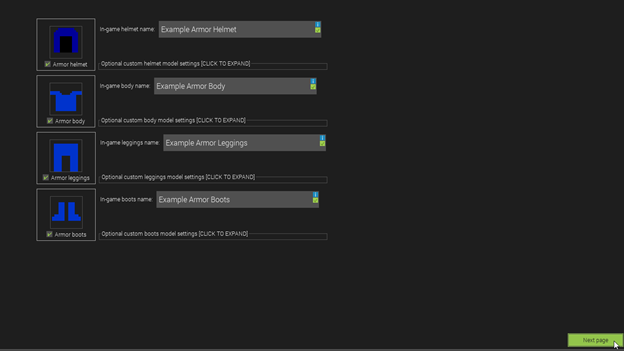
You will then be taken to the following screen. This is to make the textures of the armor. These are how the armor will appear in inventory/menus and when held; NOT how it will look when worn. Have students create textures for all of these (as items), then move on to the next page.


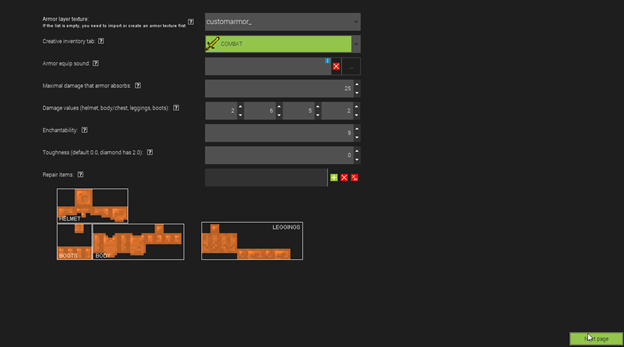
Now that your texture has been imported, you can now add it to your mod.
Feel free to adjust the different options below, but make sure the damage reduction values all add up to the total amount of damage absorbed.
After this, students can save and test out the armor, or they can also try adding a custom procedure to it (shown in the next step)
