Step 2
Creating the GamePanel constructor
In all of our previous projects, we’ve only used one Panel. A Panel is a section of a window used to display content. Since we’ve only ever had one thing/game on our screen, we’ve only needed one Panel. However, this game will be a bit more complex and will actually need more panels. In fact, we will be putting panels inside of panels for this project!
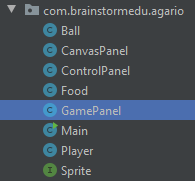
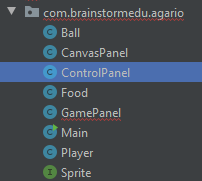
Navigate to the “GamePanel” file. The “GamePanel” will be acting as our “master” panel, and will be used to contain all the other panels we need. By doing this, since all panels have one thing in common, being inside the “GamePanel” they will have something to link them together so they work together.
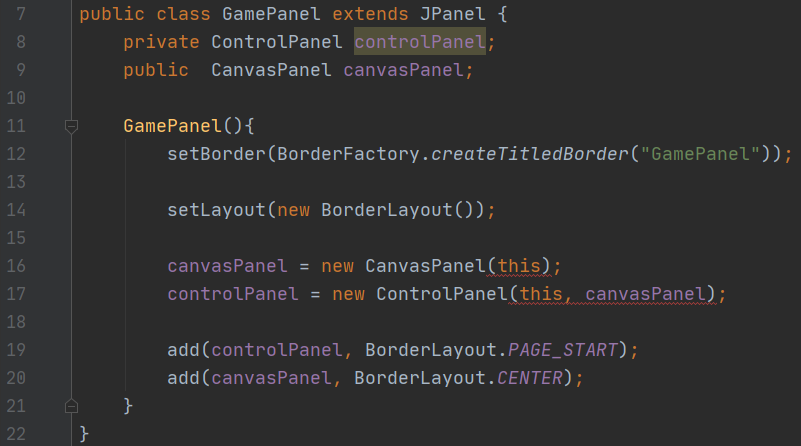
Complete the code as shown here to complete the constructor for the “GamePanel”.
This class will have two class variables, one for each of the sub panels that will be inside of it.
On line 12, we add a label to the panel so we can see where it is on the screen, this will help us see how things are laid out.
On line 14, we add a “Border Layout” which will allow us to add the lines on 19 and 20, where we tell the sub panels where they should be. PAGE_START is at the top, CENTER is at the center.
We will go over the constructors on lines 16 and 17 in a bit, leave them with their errors for now.
Creating the CanvasPanel constructor
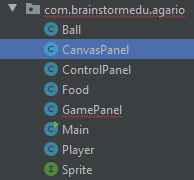
Next, navigate to the “CanvasPanel” file. Add the code as shown here to complete its constructor.
The “CanvasPanel” will be what is used to acutally draw/render our game. The constructor needs to know what “GamePanel” this “CanvasPanel” needs to be a part of, so it is passed as a parameter so we can get data from it later.
We also put a title on this panel so we can see where it is later.

Creating the ControlPanel constructor
Next, navigate to the “ControlPanel” file. Add the code as shown here to complete its constructor.
The “ControlPanel” will be what is used for our UI (User Interface). UI is the name given for tools a user can use to interact with a piece of software, things like buttons and text inputs. We will be using our “ControlPanel” to store a few buttons, we’ll program these later on.
Unlike the “CanvasPanel”, we don’t need to save any parameters we get as class variables. However, we will still need to use them inside the constructor, we’ll see this later on. For now, all the constructor needs to do is to show a title.

Testing the Panels
Now that we’ve completed all that code, let’s go ahead and test it out!
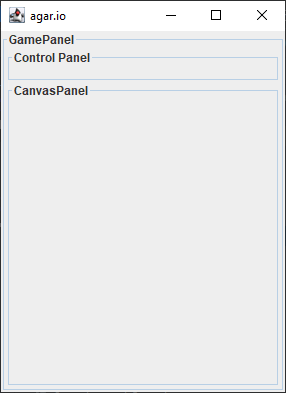
If done correctly, we should see the window with a layout as shown here. If not, go back and double check your code for any errors.
Here, we can see why having titles and borders on the windows is very useful. We can clearly see the layout of our panels, and which panel is where. Programmers will often do visual tricks like this to help them make sure their code is working correctly. Imagine how hard this would be to test without these tools! Both the panels would be invisible!
Also, check to see that your layout was made as planned. The “ControlPanel” and “CanvasPanel” should both be inside the “GamePanel”. The “ControlPanel” should be on the top, the “CanvasPanel” should take up the rest of the space.
