Step 3
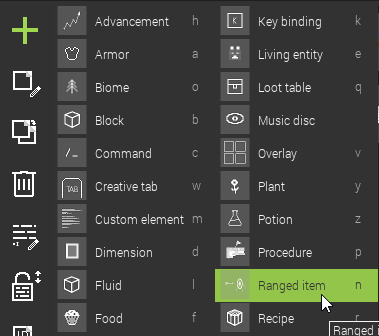
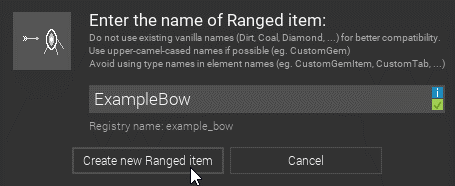
Create a Ranged Item and give it a name you will remember.
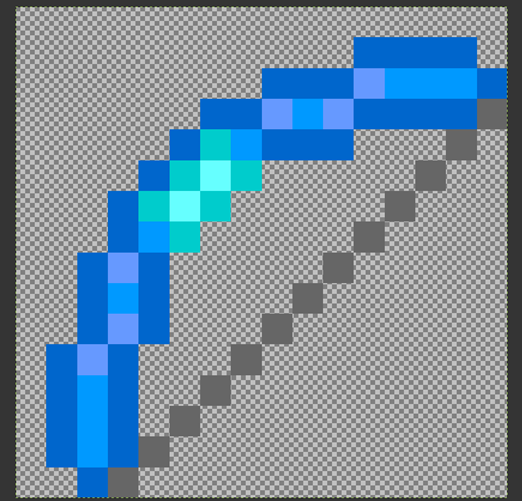
Create the texture for your weapon and apply it.


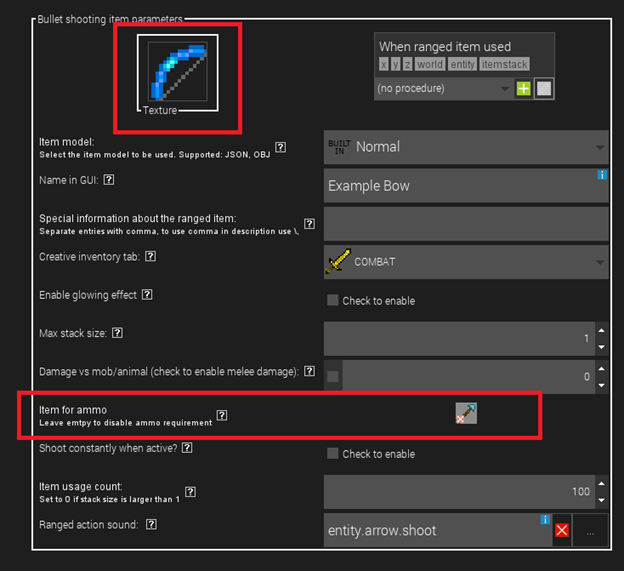
Now we can edit the way our weapon will function. First thing we need to do is give it a name and set the inventory tab it will go in. After you do that, click on the gray square next to Item for ammo and select the bullet you made earlier. This is setting the item that will shoot out of the weapon. To see the rest of the options laid out in detail, view the index at the bottom of this document. Click Next Page.
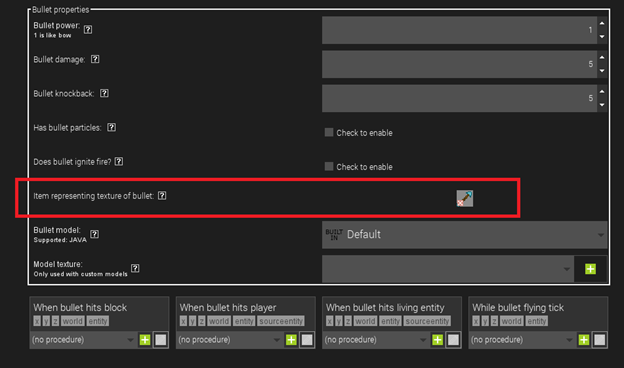
We can then edit the properties of our bullet. Here, students can edit these properties as they wish. Just be sure they also add the texture of the bullet here too. (We assigned the item for the bullet in the previous step, this is actually different from assigning the texture of the bullet). This is also where we can add procedures for things that can happen when the bullet hits blocks/players/entities or is just in the air. Make sure students remember this if they want to add code to their bullets later.
