Creating Thumbnails
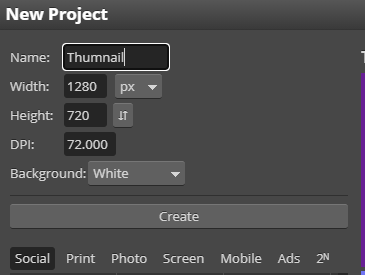
For our Thumnail, we will want to create a new project that matches the specifications show in the image to the side.
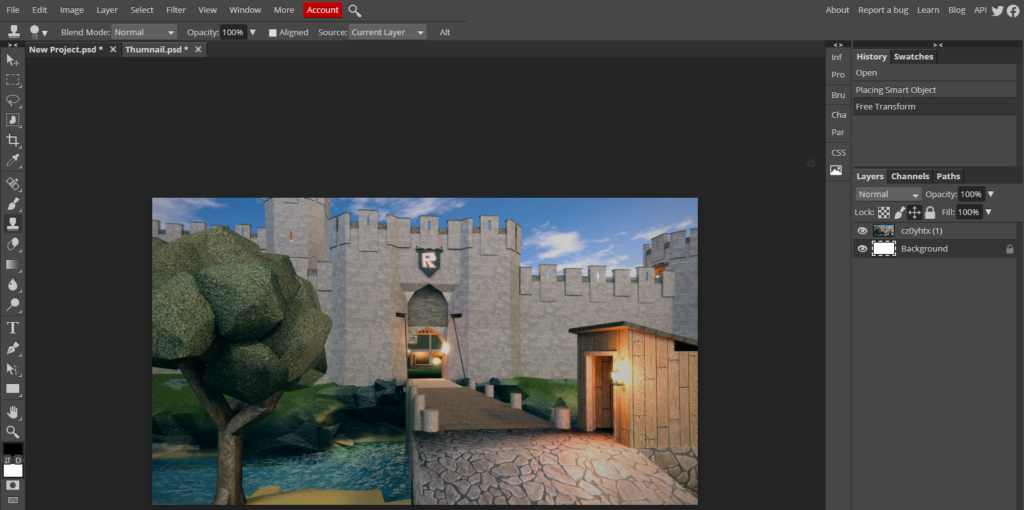
Now, we need to find an image for the background of our Thumbnail. We want something relevant to our video, something that will help us grab the attention of the viewer.
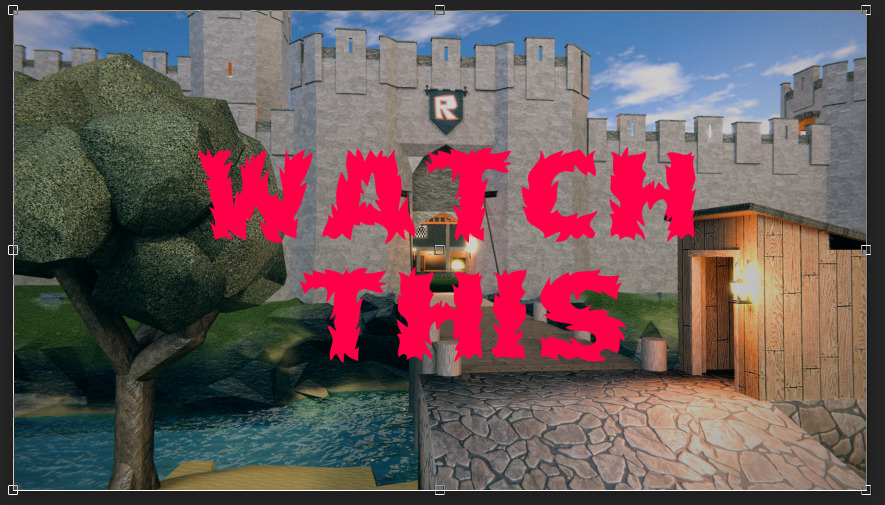
Now that we have our image in place, we add some text on top of it using the Text Tool. Make sure to center the Text, and choose a font that is easy to read, but still eye-catching
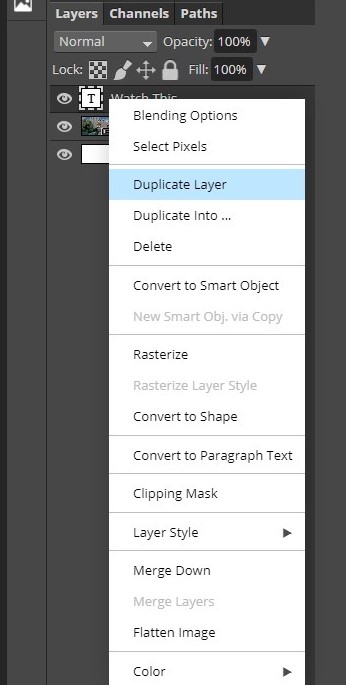
To make our Text even more eye catching, we will want to add a filter to it. The first step in this process will be to duplicate the layer our text is on
Now we will make some changes to the copy we have created. The first step is to Rasturize the text. Next, we will go to “Effects” and look for “Gaussian Blur”. Apply the effect, and adjust the Slider until the desired effect is reached.
Now, let’s add an image. Just like with OpenShot, we want to find an image that is in the .PNG format, so that it will blend in with the rest of our thumbnail. Once we have saved the image, drag and drop it into Photopea. From there, you can resize and reposition the image to suit your needs.
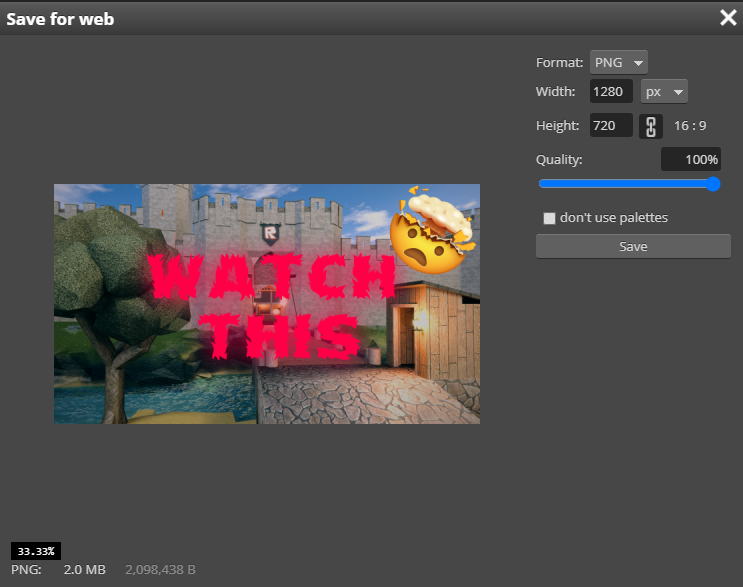
Once our Thumbnail is finished, we will need to export the finished product. Go to “File” in the top-left, and select Export. Choose Png for the format, and make sure to save the thumbnail to a memorable location on your computer