Lesson 2: Razor Tool

For this Lesson, we will want to start with the project that we saved at the end of the last lesson. Towards the bottom of OpenShot, we should be able to find the Toolbar

The Toolbar contains a wide variety of tools we can use to help us edit, but for now, we are going to focus on the third tool, that resembles a pair of scissors. This is the Razor Tool. The Razor Tool allows us to ‘slice’ into our video, and break it into smaller, more manageable pieces. It is important to note that this tool is toggleable. This means that once you ‘Toggle’ it on, it will stay on until it is “Toggled’ off

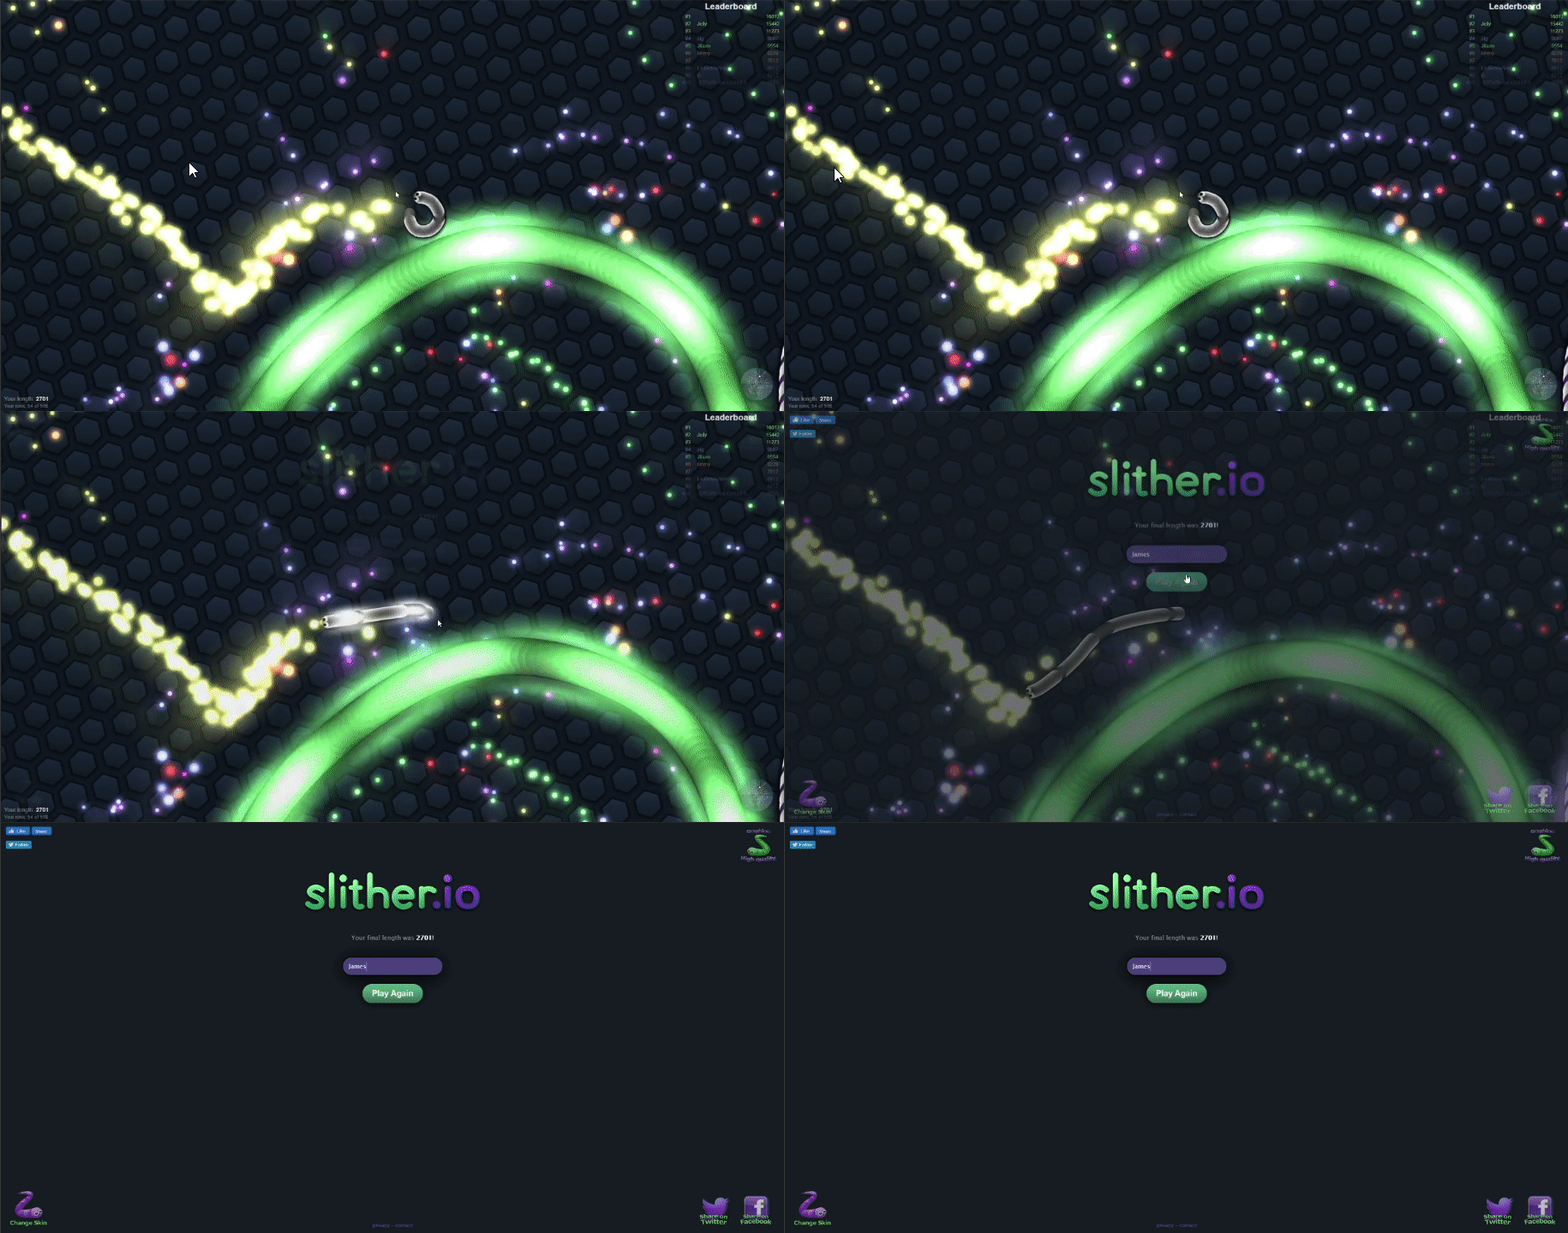
The Razor Tool allows us to isolate or separate parts of our video. This tool is easiest to understand when we see it in action. First, lets find part of our video that we might want to remove, like the ‘Respawn Screen’

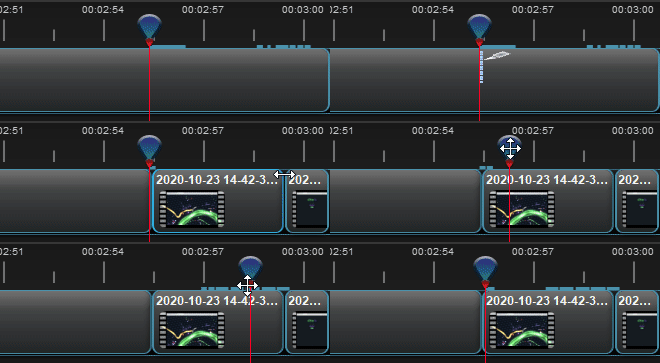
Now, we will use the Razor Tool to isolate that part of the video on the Timeline. Now that we have this clip ‘sliced‘ out from the rest, we can change or remove it without affecting the rest of the video.

If we want to Remove this clip, we just need to select it, and then press “Delete”. You could also Right-Click the clip, and chose “Remove”. Deleting the clip will leave a gap in our timeline. It is important to fill this gap by pulling our Right-Side video over.
The Razor Tool can also set us up for things like Transitions and Effects. This will be covered in the next Lesson.
