Lesson 3: Color Saturation
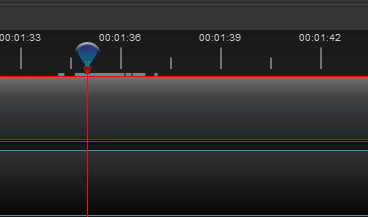
The Razor Tool can be used to help setup for us to add in Effects to our Video. In order to do this, we will need to isolate a clip that we would like to apply an effect to. For our Slither video, we are going to make the screen turn Black and White when we are defeated, so we will use the Razor Tool to isolate part of the video where we are defeated.
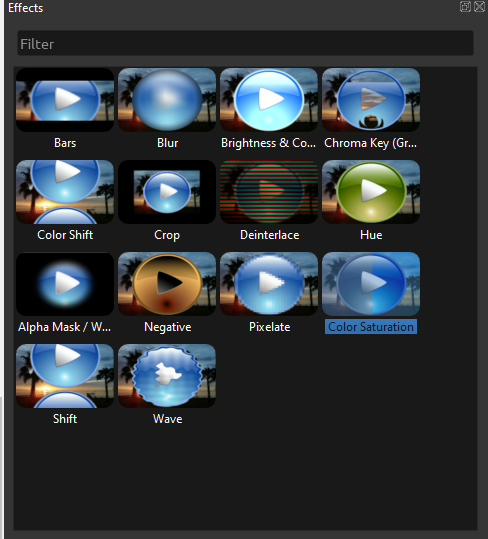
Next, we need to find our Effects. At the bottom of Project Files, look for the Effects tab. There are tons of cool effects to explore, but for the moment we are only going to focus on one of them: Color Saturation
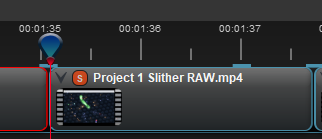
Drag and Drop the Color Saturation effect onto the clip we isolated in the previous step. You should see a red S appear on the clip.
For our next step, we will need to open the Properties window. The easiest way to do this is to
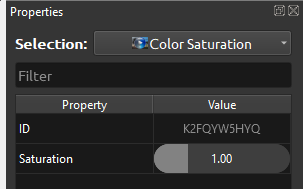
With the Properties window open, click on the Red S that represents our Effect. The Selection in the Properties should change to reflect this. The Color Saturation effect has only one property for us to change, the Saturation

The Saturation reflects the intensity of the colors in our Video. If we Decrease this value, the colors will fade until they disappear, leaving us with a Black and White Effect when we reach 0

If we Increase the Saturation value, our colors will get more intense, creating a kind of ‘Neon’ effect when it caps out at 4