Lesson 4: Recording Checklist
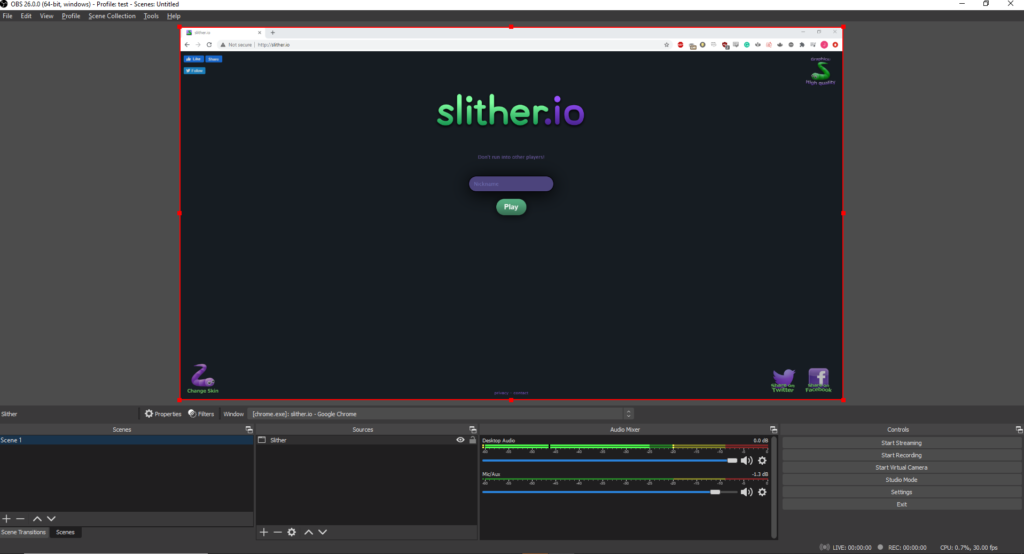
Before we start recording, we always want to run through our Recording Checklist. The first step is the Eyeball Test. Look at the Video Preview window in OBS, and ask yourself the question “Does that look right? The Video Preview is a direct representation of what our recording looks like, so if it looks strange in the preview, it will also look strange when we record.
The next step in our Recording Checklist is to check our Audio Levels. Towards the Bottom-Middle of OBS, we should see the Audio Mixer. By Default, the Audio Mixer should have two tracks: Desktop Audio, and Mic/Aux.
The Desktop Audio records any sound that is playing on our computer, like Game Audio. The Mic/Aux records our Microphone, if we have one. We Want to make sure that neither of these tracks is spiking into the Red Zone. If they are, adjust the sliders found below each track until it no longer spikes into the Red.

Now that we are ready to record, look for the Start Recording button, found in the Bottom Left. Once we click this button, OBS will start to record, and the “Start Recording” button should become a “Stop Recording Button“
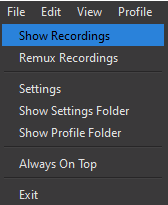
To Find/Watch our Video once we are done recording, look in the Top Left of OBS for “File“. Select the first option “Show Recordings“