Step 1
Downloading IntelliJ
The first and most important thing we need to download for this course is a software called IntelliJ.
IntelliJ is a special kind of software called an IDE. An IDE is essentially a tool to help complete and develop programs, IntelliJ is one that is very good for the Java programming language.
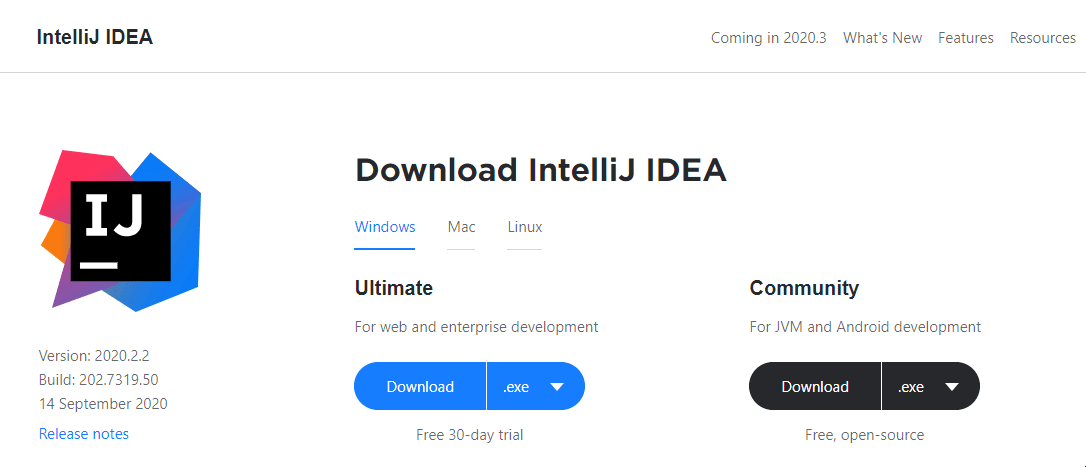
To download IntelliJ, go here and select Windows/Mac/Linux to download the version you need. Be sure to download the Community version. (The Ultimate version is a paid version that has more tools than we need for this course)
Installing IntelliJ
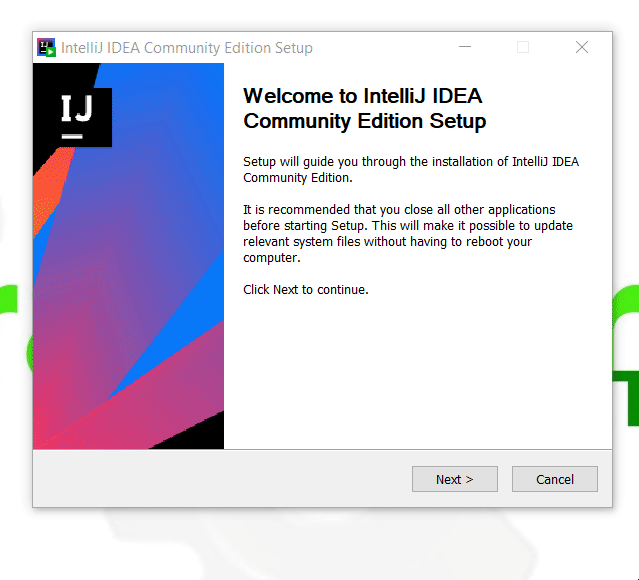
Once it is done downloading, go ahead and open up the file you have downloaded. The Windows installation is what will be shown, but the Mac installation should be very similar. If it asks you for permission to run the file, go ahead and grant it.
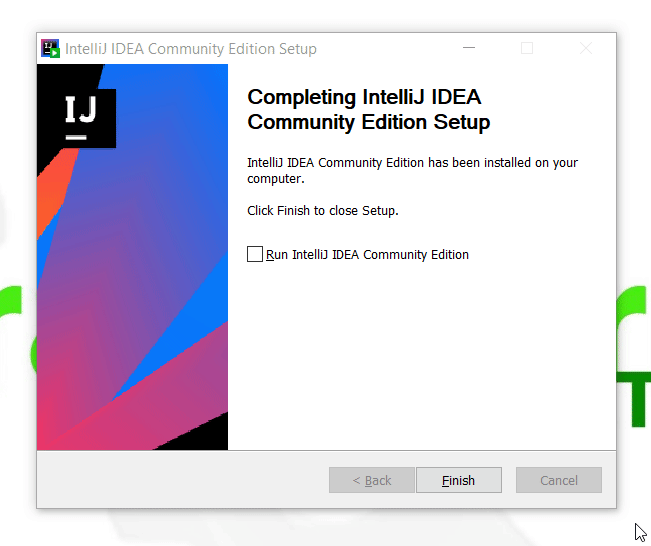
In the next windows that appear, go ahead and keep clicking “Next” and eventually “Install.” All the default settings are fine.
Once it’s done, go ahead and run the software. If it asks about a “Privacy Policy” go ahead and accept it. If it asks about “Data Sharing,” choose either option.

Creating a Project
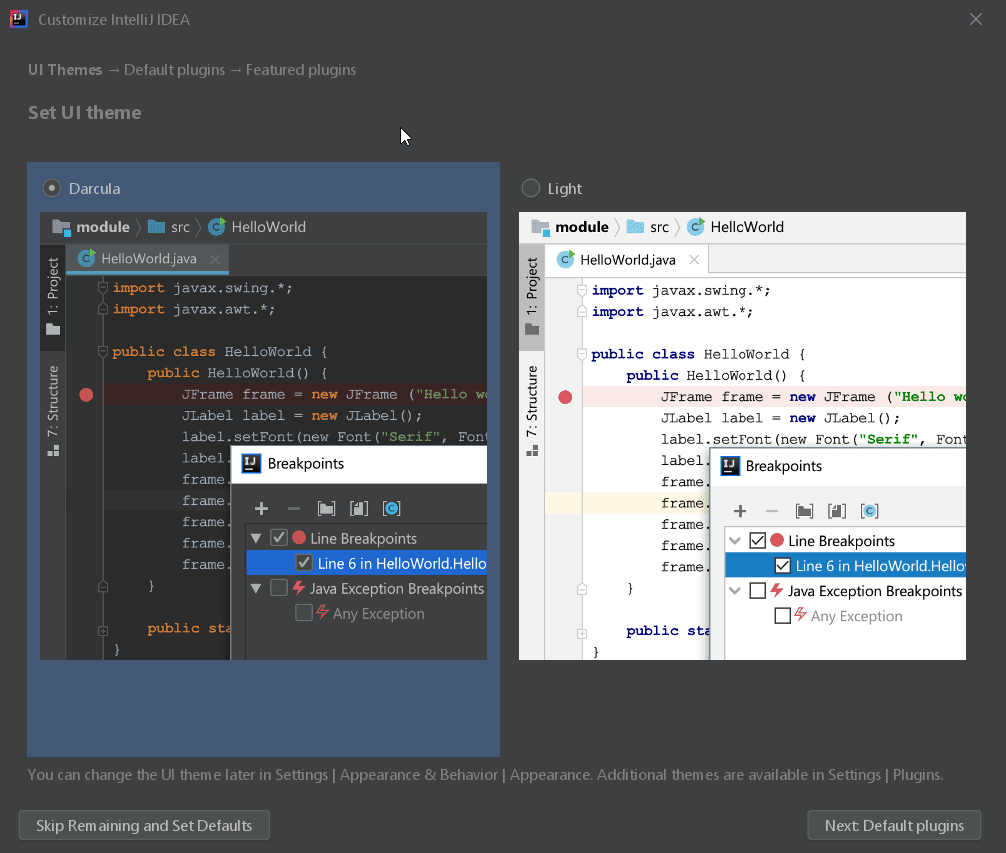
The next window will ask you how you’d like to customize your software. Choose either the “Light” or “Dark” theme, leave all the other windows with their default settings.
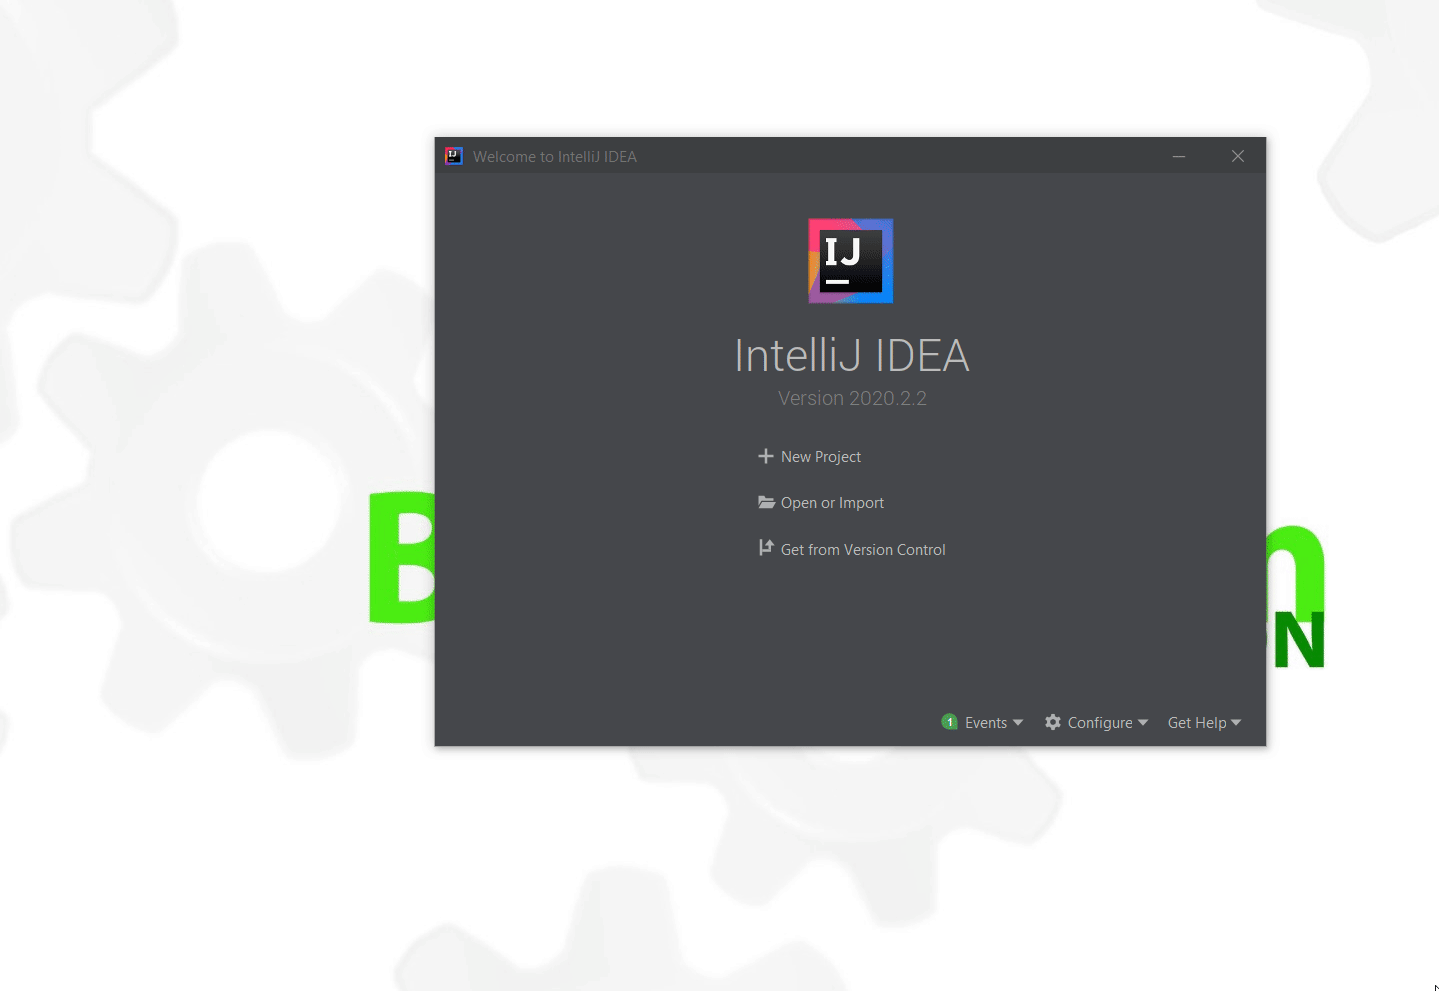
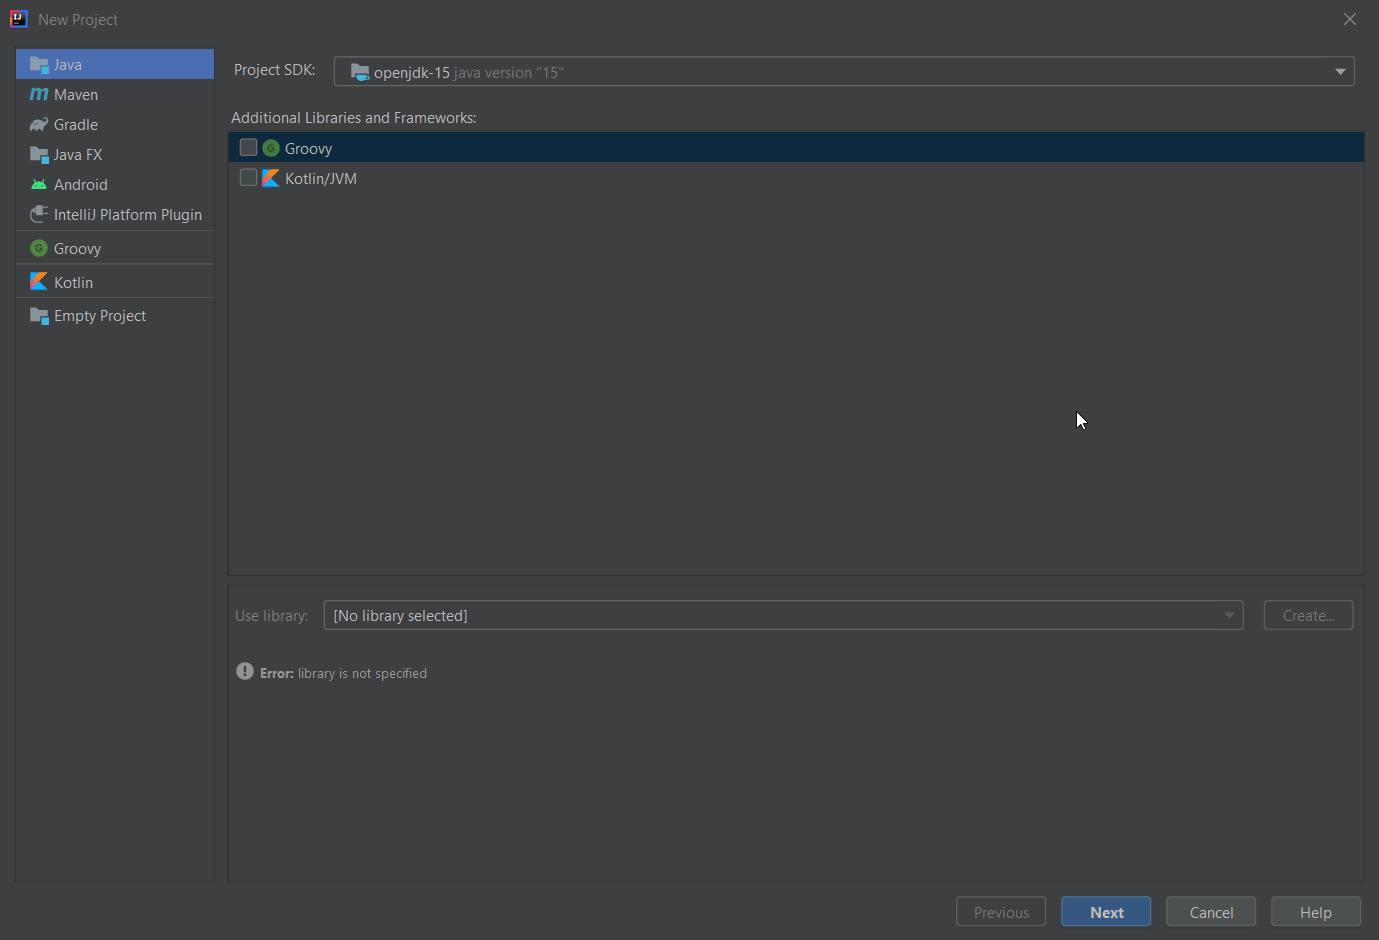
Once the software opens, click on “New Project”. At the top where it says “Project SDK”, click on the dropdown menu. Select “Download Java JDK”. This will download a Java Development Kit which is needed to create Java programs.
Once it has finished downloading, click “Next”. Then be sure you select the Command Line project template.
Once it has finished opening your new project, it should look something like the last picture. You have set everything up sucessfully! Next, we’ll go over how to download and use the projects needed for this class.