Step 2
Downloading the projects folder
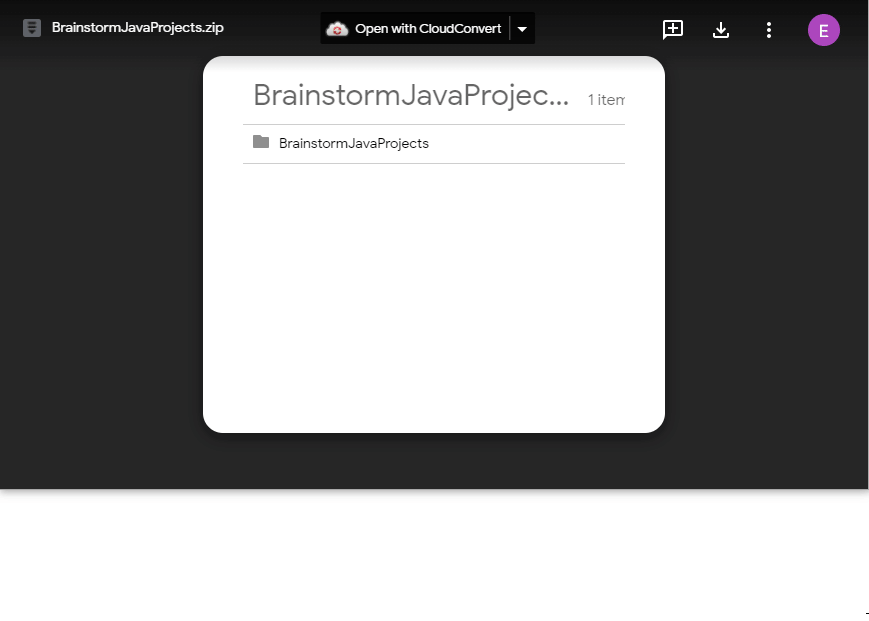
Next we need to download the zip file containing all of our projects. A zip file is a way to send entire folders worth of data within a single file, we’ll see how to access that data soon)
Click here to access the page to download the zip file. To download the file, click the small download icon on the top right. Save it somewhere you will remember, if it doesn’t ask you where to save it, it is probably in your Downloads folder.
Once it has finished downloading, click on “Show in folder”, double check the location of the file so you know where it is saved.
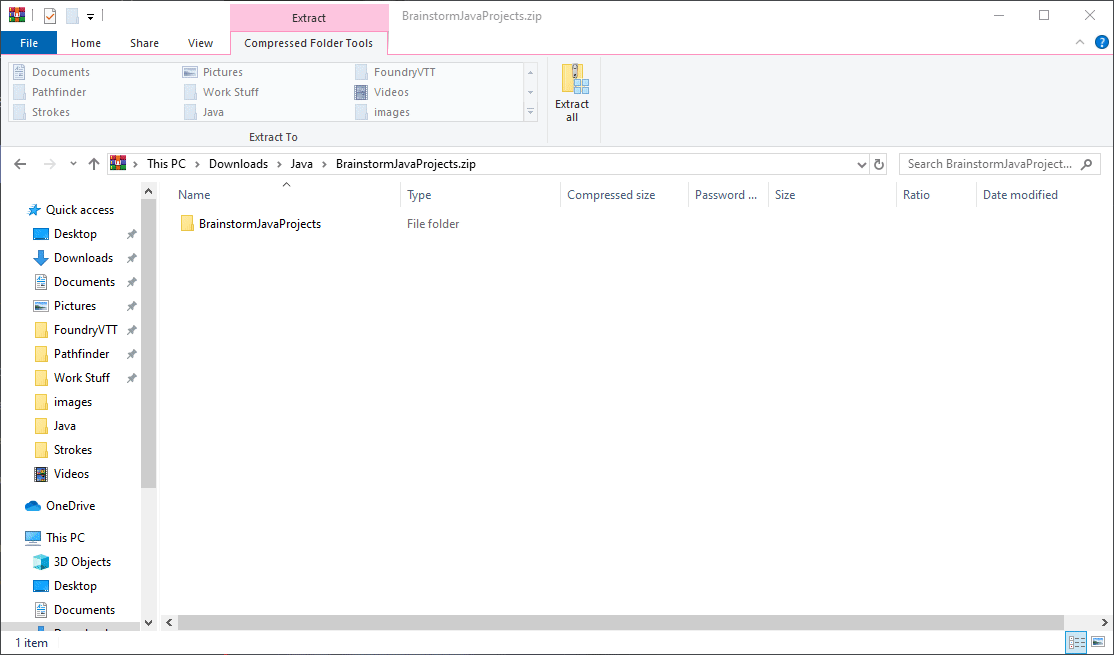
Double-click the file. If you are on a Mac, you will see another folder appear, you are done once this happens. If you are on Windows you will be taken to another area. Here, we need to do one more step to get all the data, or extract, the contents of this zip file.
Towards the top of the window, click the button that says “Extract all”. Then click on “Extract” in the next window and you should be good to go!
Opening and testing Project 1
Now that we have all our projects downloaded, all we need to do is open up “Project 1” to begin working on it.
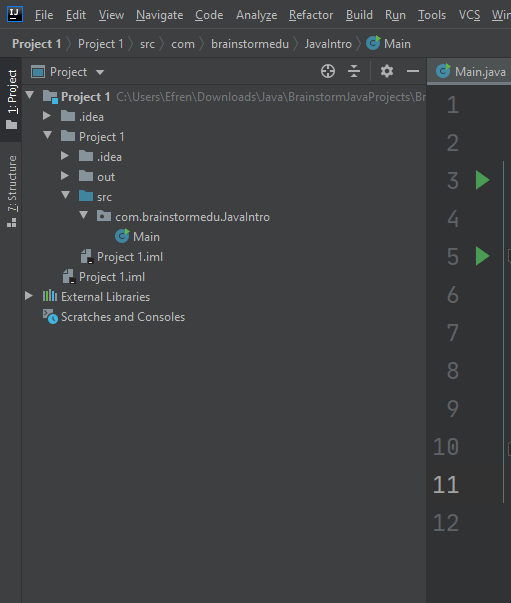
Inside IntelliJ on the top left corner, click on “File.” Then click on “Open.” In here, find where you saved your folder and open up “Project 1”. After this, open up the folders as shown to open the “Main” file.
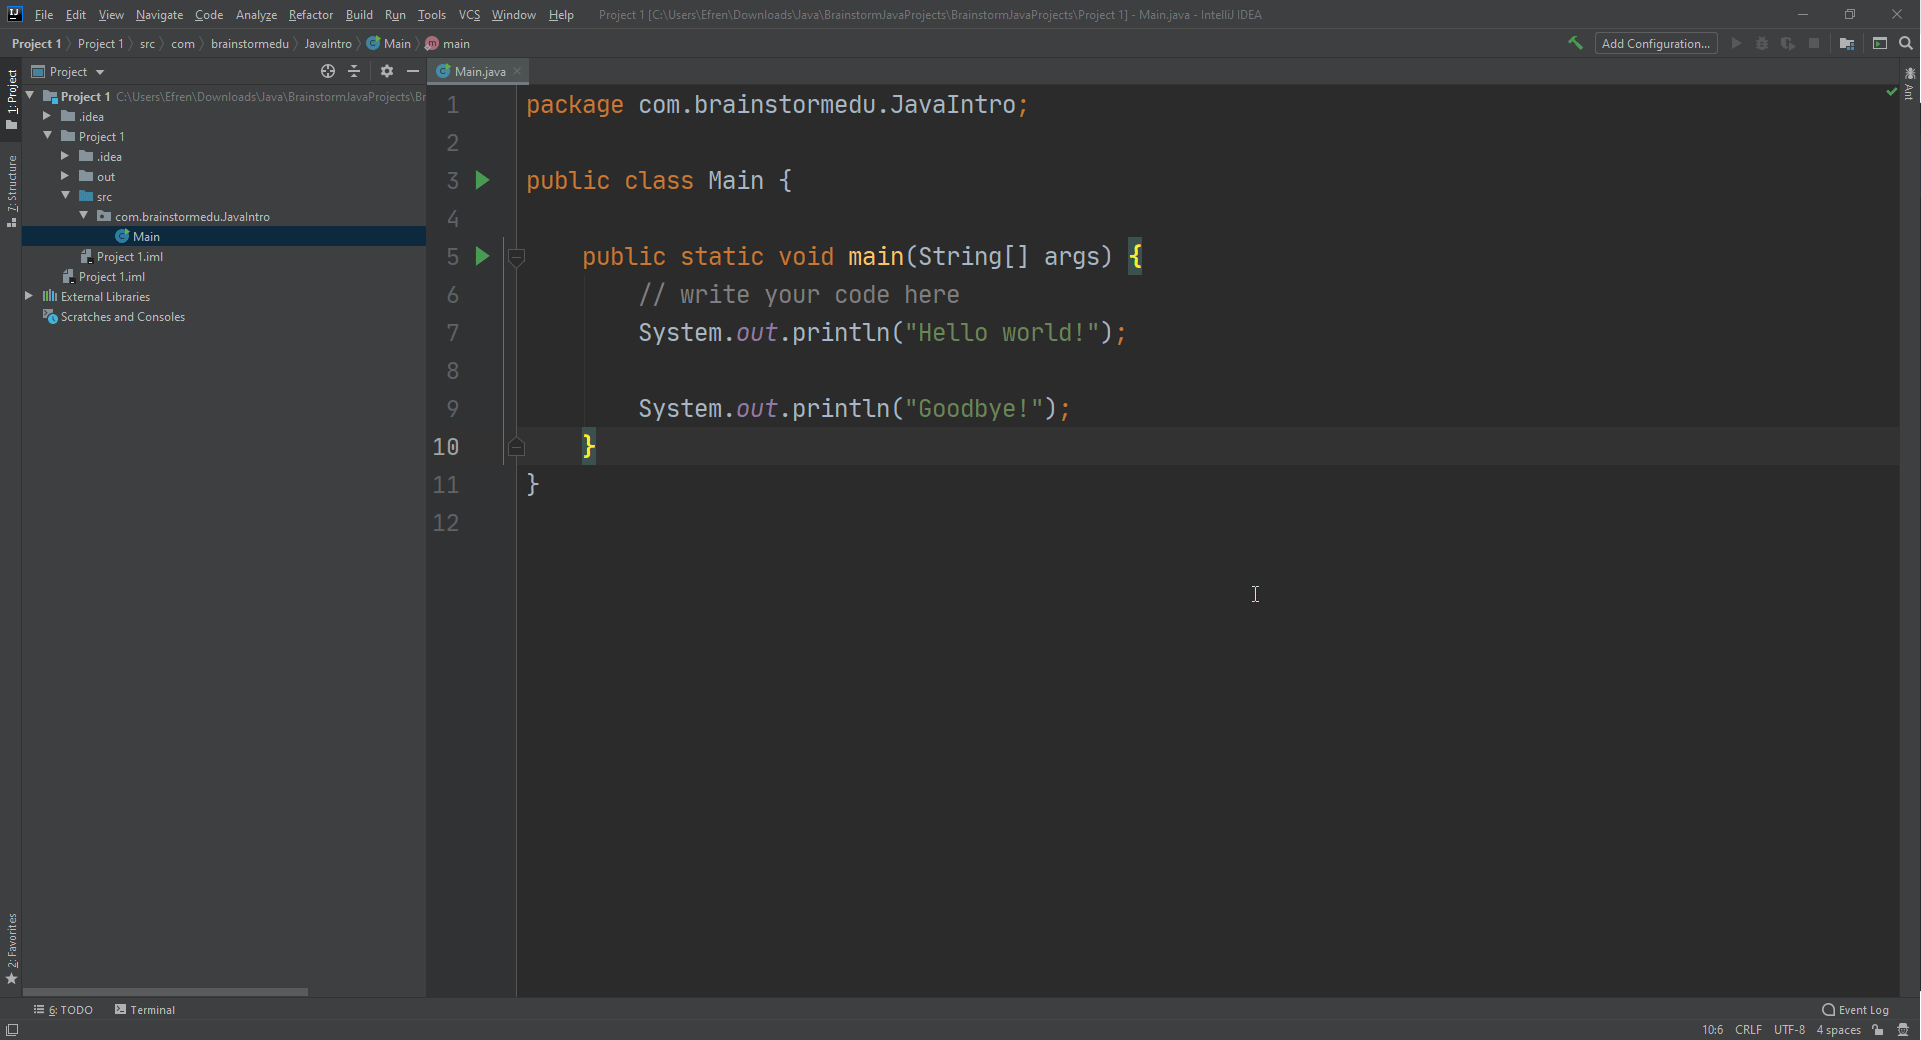
Next, all we need to do is run the file to make sure everything is working. To do this, click on “Run” on the top toolbar, then click “Run” again. In the small window that pops up select “Main”. After you have done this once, you can run by using the green play button in the top right of the screen.
Congratulations! Once you can see the code working, you are all set up and ready to start working with Java!