Step 1
Creating the tilemap
Unlike most of the previous games, the world of this game is going to complete be made using the tilemap.
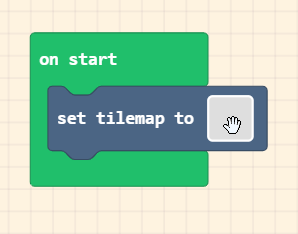
Complete the code shown to the right, then click to open the tilemap.
Resizing the tilemap
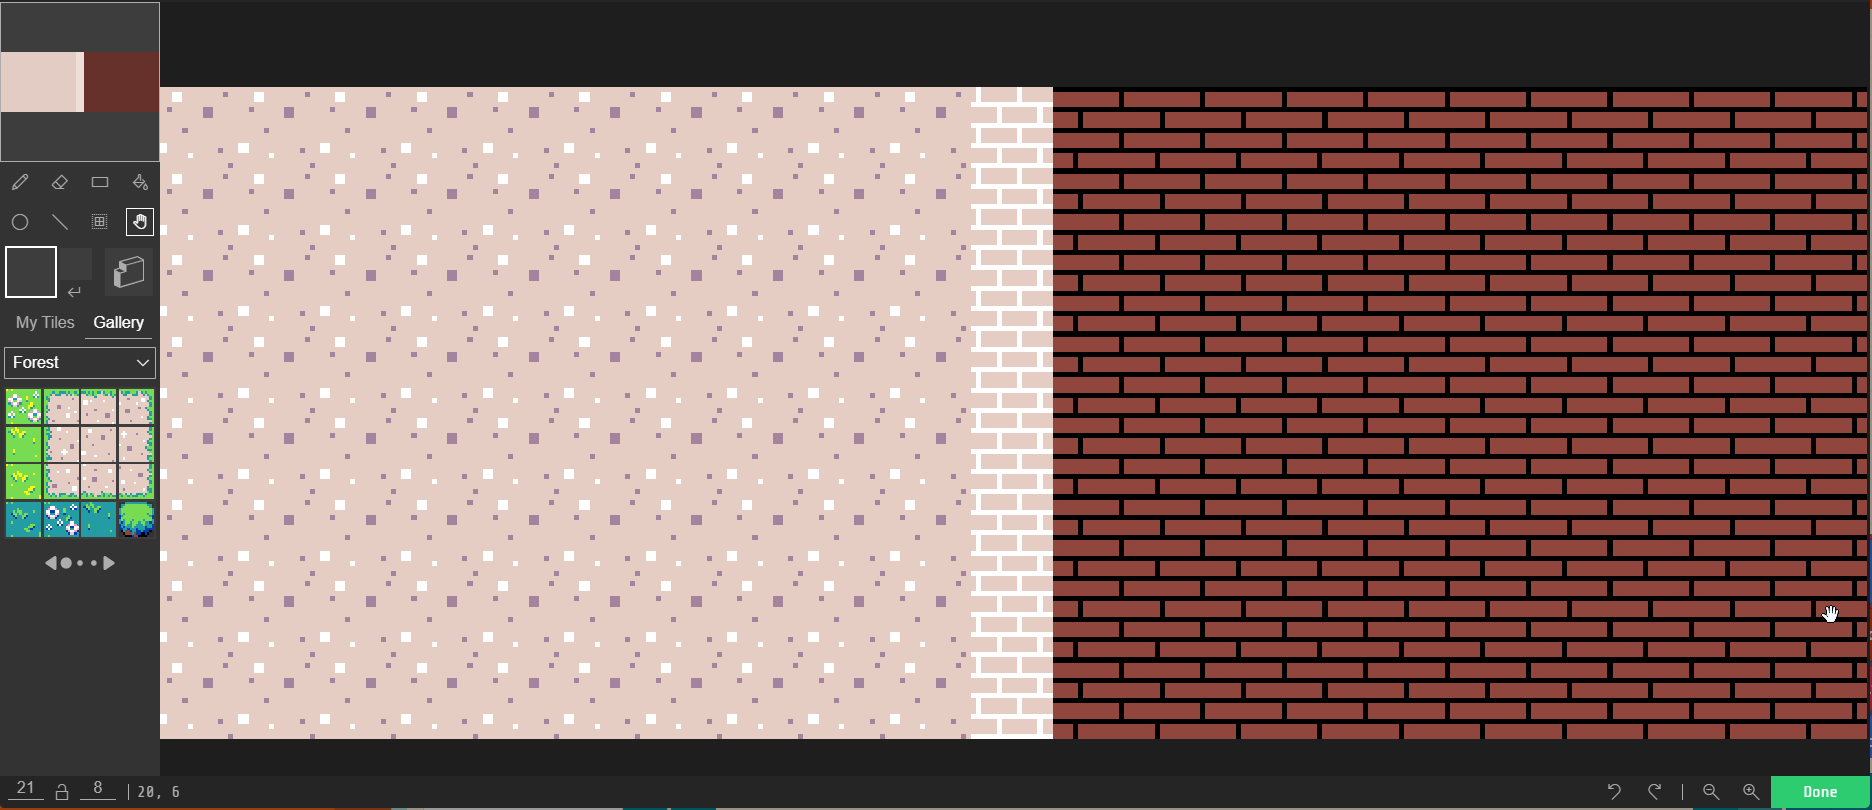
Now we need to resize the tilemap. In all of our other games, we’ve set this to be 10 x 8. However, this will be a little different in this project.
We want to separate our level into two separate sections, so we are going to set the tilemap size to be 21 x 8. This is so we can have two 10 x 8 areas and a 1 x 8 divider.
Drawing the tilemap
Next, spend some time designing the maps for the two separate areas.
Try your best to make each area look distinct. One is going to be an outside area that leads to the dungeon. The other is the dungeon. Make sure to pick a good border tile as well!
Feel free to draw your own tiles for this step! The tile shown on the right side of this picture is an example of a customly drawn tile.
Adding walls to the tilemap
Next, we need to add some walls to the tilemap.
By adding walls, we are making it so some tiles cannot be walked through. By doing this we are creating two separate areas in our tilemap.
We also create a door shaped area, this will be where the player walks to travel to the second area.
Be sure the walls are placed exactly as shown, otherwise the map may not behave correctly in future steps.
